VIDEO & TUTORIAL: APPLIQUE FOR BEGINNERS: How to Applique using a Single Needle Embroidery Machine
Have you been dying to try applique on your embroidery machine but have no idea where to begin? Does the thought of it make you anxious? We felt the same way the first time we tried it. Once you have done it the first time, you will see just how simple and easy it really is. To help get you started, we put together this step-by-step tutorial to walk you thru it. Follow along as we teach you how to applique on your embroidery machine. Make sure to read all the way to the end because there is a GIFT waiting for you there!
VIDEO
CLICK HERE to SUBSCRIBE to our YouTUBE channel. Also please LIKE this video and hit the BELL to be notified when we upload new videos.
TUTORIAL
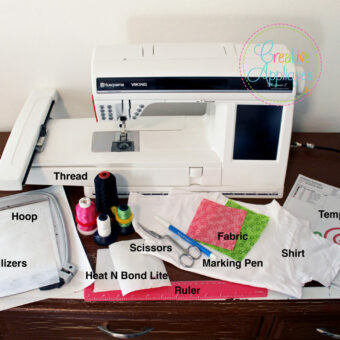
1. GATHER YOUR SUPPLIES: You will need fabric, heat n bond light, embroidery thread, scissors, marking pen, ruler, stabilizer, hoop, and item to sew onto. Print out the color chart for the design and load the design to your machine.
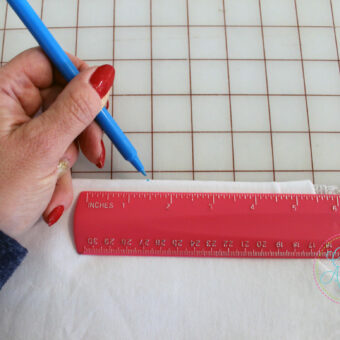
2. PREP YOUR ITEM: fold item in half and mark the center point of the item using a temporary marking pen. Whether you are sewing onto a shirt, towel, or pillow, you will want to mark the center of the item.
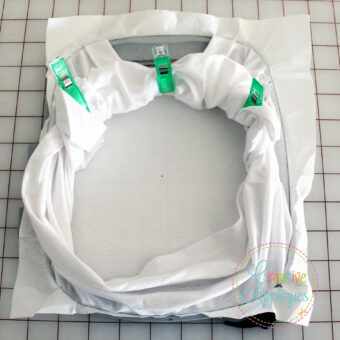
3. HOOP ITEM: Hoop item and stabilizer together. Make sure to have the proper stabilizer for the item you are sewing onto.
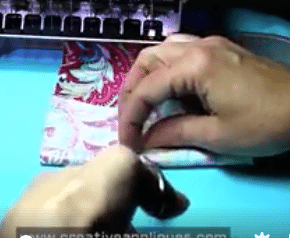
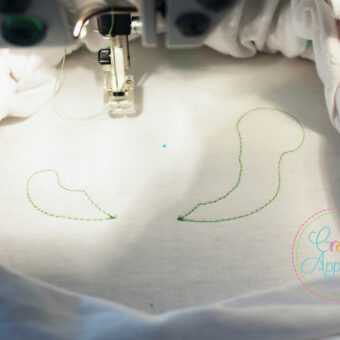
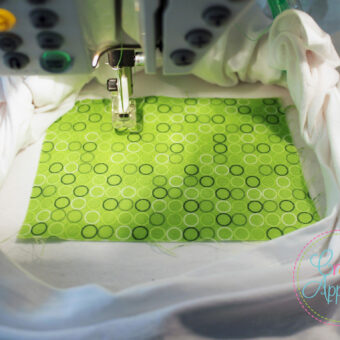
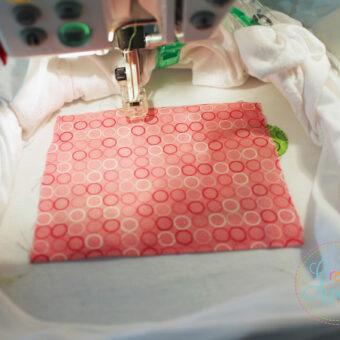
4. LET’S SEW: Sew step one; fabric placement line for snail body. (Thread color does not matter since it will be covered by the decorative stitching later. I use white but for this photo I chose green so it can be seen.)
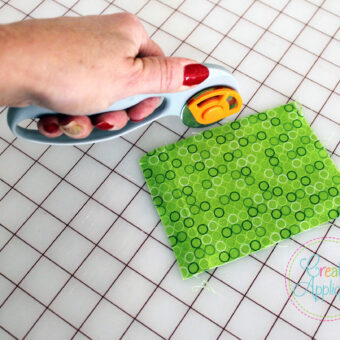
5. Stop machine. Measure the width and the height of the stitching and add 1/2”-1”. Cut fabric larger than the size of the placement line.
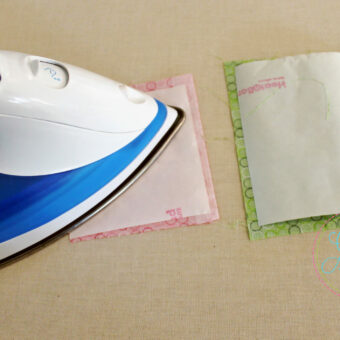
6. Following manufacturers guidelines, iron Heat N Bond Lite to the WRONG side of the fabric. Once cool, remove paper. (Wonder Under or Steam a Seam also works well.)
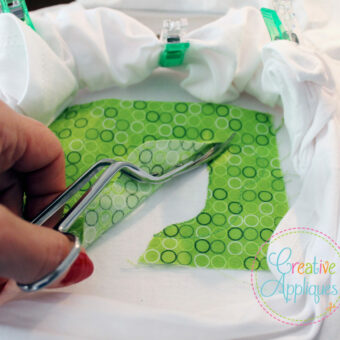
7. Lay fabric on top of the placement line covering the entire stitching. Sew step 2, tack down stitching.
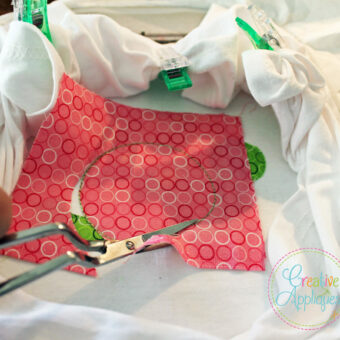
8. Stop machine. Remove the hoop from the machine. DO NOT take your item out of the hoop. Cut fabric as close to the stitching as possible without cutting the stitching. Return hoop to the machine.
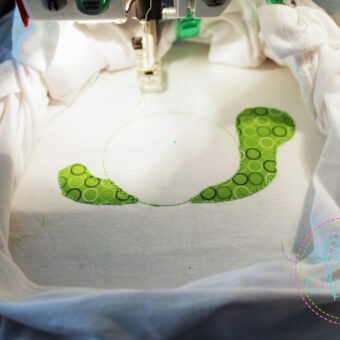
9. Repeat steps 4 thru 8 for the snail shell.
10. After having trimmed all the fabric, use a lint roller to remove any stray threads and fabric.
11. Then using the tip of a hot iron, adhere the heat n bond lite to your item.
12. Finish up with the decorative stitching.
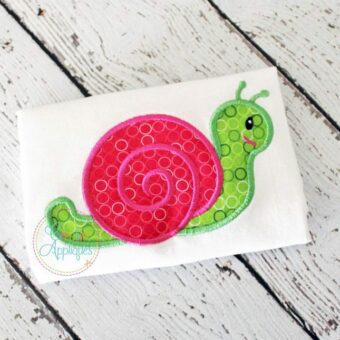
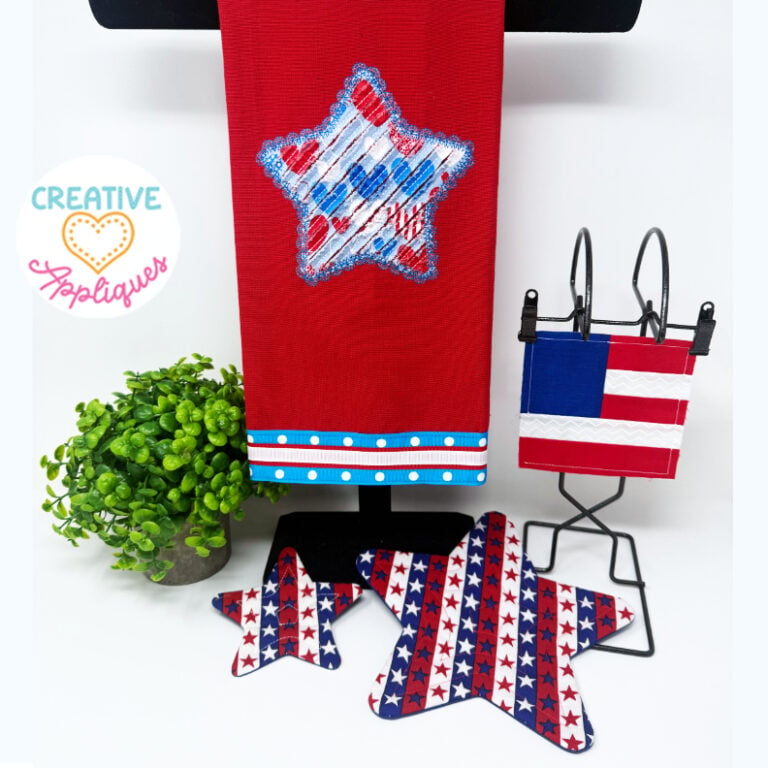
Wasn’t that easy? Now it’s time for you to try. As promised, our GIFT to you is the free download of this snail applique design. The design comes in 4 sizes, includes the step-by-step stitch order chart as well as these instructions in much greater detail for you to print out and follow along.
We would LOVE to see picture of your finished project! Please share them with us by emailing them to admin@creativeappliques.com You can also post them on our Creative Appliques Facebook page or in our Facebook Fan Group.
Click on the title or photo to get the snail design.
SNAIL APPLIQUE DESIGN