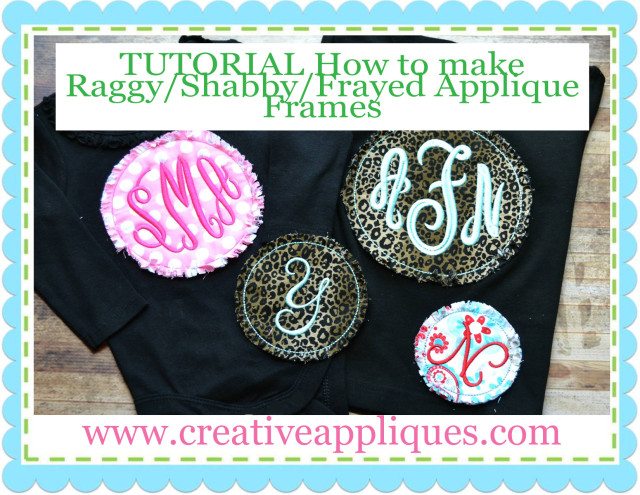
VIDEO: How to make an applique design RAGGY SHABBY FRAYED 101
CLICK HERE to SUBSCRIBE to our YouTUBE channel. Also please LIKE this video and hit the BELL to be notified when we upload new videos.
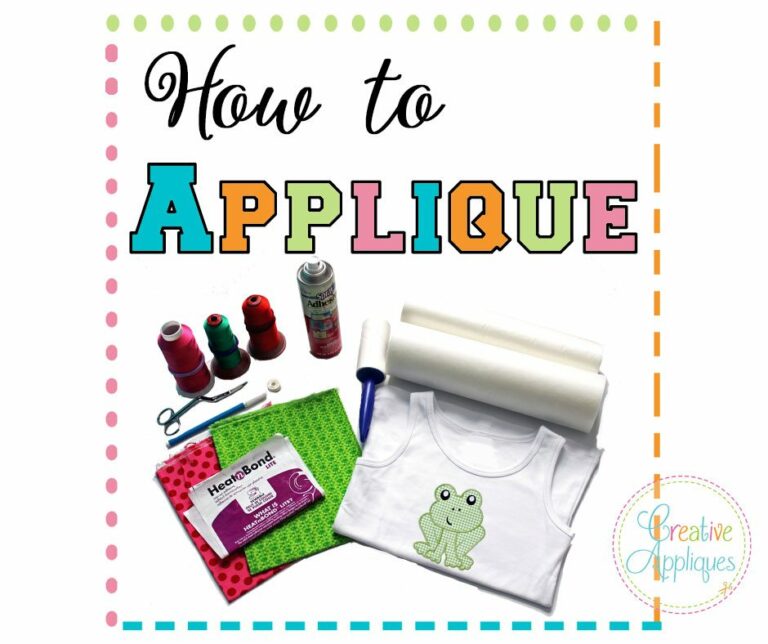
RAGGY/FRAYED/SHABBY DESIGN 101
1. Hoop your stabilizer and item to be sewn.
2. Sew step 1 (fabric placement stitching).
3. Cut 1 or more pieces of fabric; I cut the fabric 1 inch larger in diameter than the actual design size. I use 2-3 layers with cotton quilting fabric on top and flannel or osnaburg fabric for the bottom layers, both of which fray very well. I do not use Wonder Under or Heat N Bond Lite as this will not allow the fabric to fray.
4. Place fabric layers on top of the placement stitching making sure the fabric covers all the stitching.
5. Sew step 2 (tack down stitching) on top of the fabric/s.
6. Cut the fabric leaving about ¼ – ½ inch of fabric extending beyond the stitching.
7. Then cut perpendicular to the stitching every ¼-½ inch.
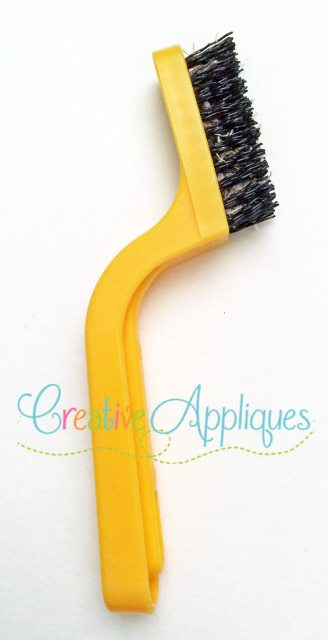
8. Use your nail or a brush like the one shown to gently rub the edges of the fabric to fray it. This brush has firm plastic bristles and can be found in any hardware store.
Some Creative Appliques Raggy designs can be found here:
CIRCLE BEAN STITCH RAGGY FRAME
9. Enjoy your new creation!